Removing a Load-Bearing Wall in Toronto: What Has to Be Planned First
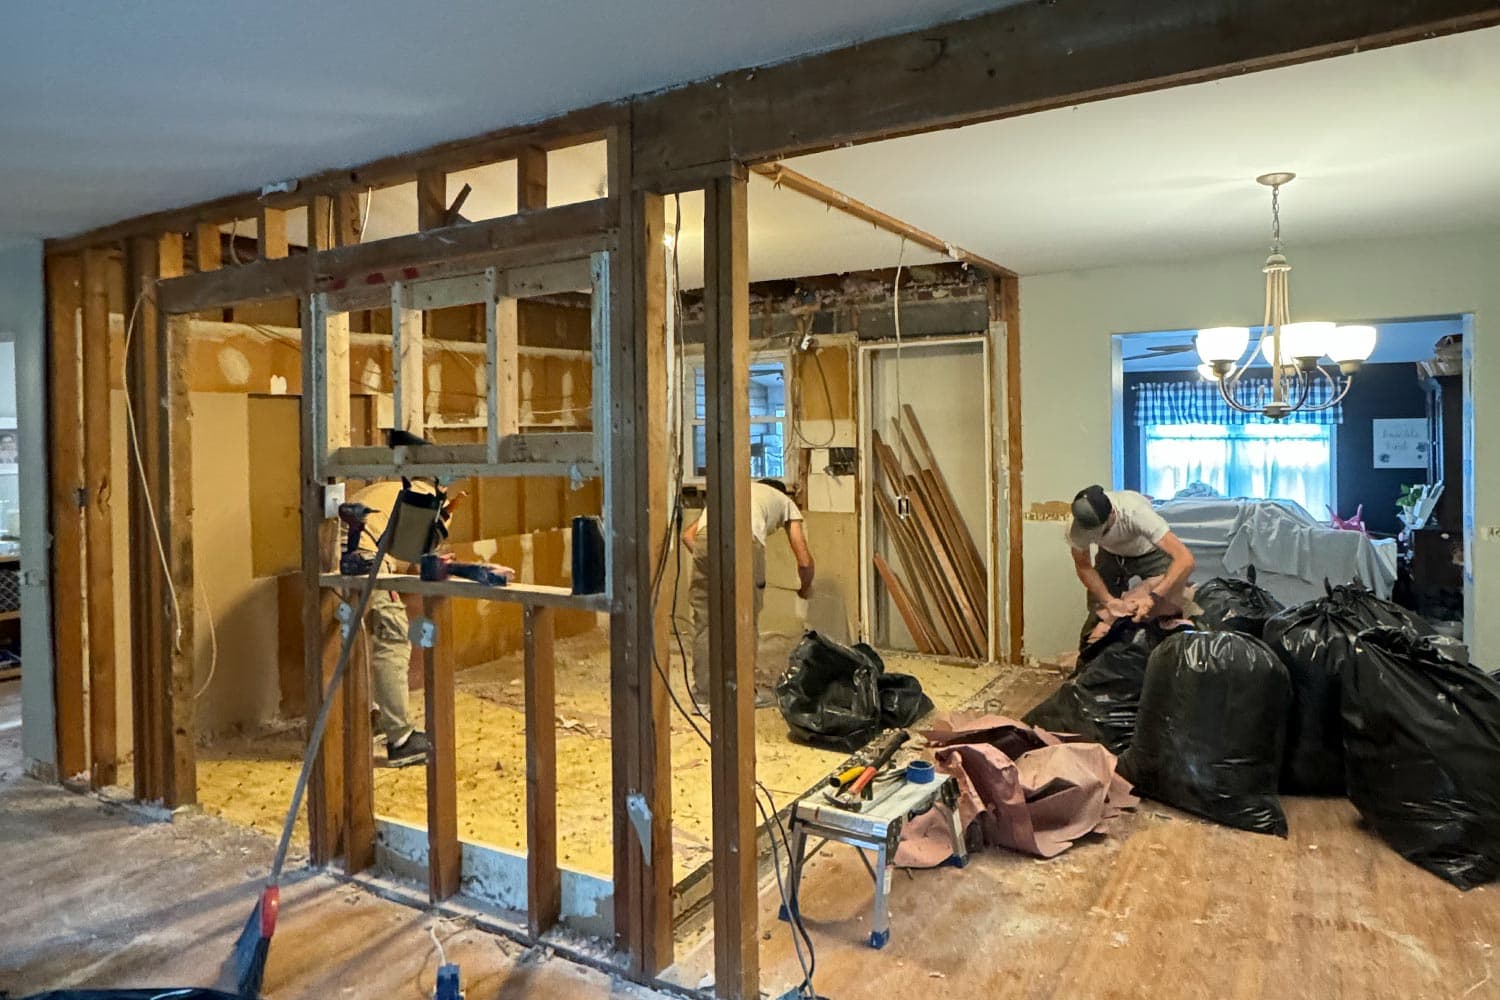
The visible wall is only one part of the job. Before demolition, confirm the load path, permit drawings, temporary support, beam and post locations, foundations, hidden services, and inspection sequence.
Written and reviewed by the Home Reframe project team.
Published 2026-08-15 · Updated 2026-08-15 · 11 min read
01
Do not decide from the wall alone
A wall can carry floor joists, roof framing, another wall, a beam, or a concentrated load that continues through several levels. It can also brace part of the building. The drywall thickness, stud direction, doorway, or hollow sound is not enough to prove that removal is safe.
Start by tracing what is above and below. Review the basement, floor framing, attic or roof structure where accessible, existing beams and columns, and where those loads reach a footing or foundation. Original drawings help when they exist, but older Toronto houses often contain later openings and renovations that also need to be checked on site.
02
A structural alteration needs a building permit
Toronto lists adding or removing walls that change room sizes or uses among structural or material alterations that can require a building permit. Its interior-alteration guide calls for existing and proposed plans, construction information, structural framing above, sections, and relevant construction details.
The permit scope should describe the real project, not just “open kitchen wall.” It may need to show the removed wall, new beam, posts, bearing details, affected floors, mechanical or plumbing changes, alarms, and other work tied to the layout. Confirm the current submission requirements with Toronto Building before demolition.
03
The load path has to continue below the new opening
Removing studs does not remove the load they carried. A beam collects that load and usually delivers it to posts or bearing at each end. Those reactions then travel through the floor system to structure below and finally to suitable foundations.
This is why a beam schedule by itself is incomplete. The design needs end bearings, connections, post sizes, any built-up support inside walls, and confirmation that the floor, beam, column, footing, or foundation below can accept the new concentrated loads. A finished basement ceiling can hide the most important part of the route.
04
Flush beams and dropped beams solve different problems
A dropped beam sits below the framing and usually requires less disturbance to the floor structure, but it remains visible below the ceiling. A flush beam is fitted within the floor depth, which may create a cleaner ceiling while requiring joist alterations, hangers, access from above, and more rebuilding.
Neither option is automatically better. Beam depth, span, material, services, ceiling height, floor finishes, neighbouring rooms, and how much structure can be opened all matter. Decide the architectural result and structural detail together so the quote does not assume one while the drawings show the other.
05
Temporary support is part of the structural plan
The existing wall cannot simply be removed and replaced with a beam later. Temporary shoring must carry the affected structure while finishes, studs, and framing are altered. Its location, bearing, installation sequence, and removal have to work with the approved permanent design.
Temporary walls can affect occupied rooms on both sides, floor finishes, cabinets, stairs, and access. The work plan should also account for demolition vibration and unexpected framing. If site conditions differ from the drawings, pause and have the responsible designer review the change before the load path is improvised in the field.
06
Open the service plan before opening the wall
Bearing walls often contain wiring, switches, receptacles, plumbing vents, water lines, heating ducts, returns, gas piping, or low-voltage cable. A flush beam may also occupy the same floor cavity that a drain, duct, or wiring route currently uses.
Map visible fixtures and use drawings or selective investigation to plan rerouting. Electrical work must follow Ontario notification and inspection requirements through the appropriate licensed electrical contractor. Plumbing, HVAC, and gas changes need their own qualified trades and should be shown in the schedule before structural work closes the available routes.
07
A wider opening changes more than the ceiling line
Open-concept work affects lighting, flooring, baseboards, cabinets, islands, appliance clearances, smoke and carbon-monoxide alarm locations, heating balance, sound, and how the two rooms are finished. A post that is structurally sensible can land in the middle of a walkway or cabinet run if the room plan comes later.
Draw the finished layout with realistic furniture and circulation before fixing beam and post positions. Sometimes a large framed opening, a short return wall, or a deliberately expressed post gives a better result than forcing a fully clear span with deeper structure and more work below.
08
Party walls and attached houses need extra care
In a semi-detached or row house, framing may meet or bear near a party wall, and the proposed work can affect fire separations or a shared structural condition. Toronto’s interior-alteration guide notes that where a party wall is involved, permit requirements can extend to the properties separated by that wall.
Do not assume the neighbour’s framing mirrors yours or that access is available. Confirm property and wall conditions, fire-separation details, responsibility for design, and any access or legal question early. The construction schedule should not depend on an informal assumption about shared structure.
09
Inspections should happen while the work is visible
The permit and design team should identify which stages must remain open for inspection or professional review. Connections, bearing, reinforcement, posts, fire stopping, and service rough-ins cannot be properly checked after drywall, cabinets, and trim conceal them.
Keep the approved drawings and any reviewed revisions on site. Record concealed conditions and completed structural details before closing. Final inspection is more than a paperwork step: it confirms that required reviews have happened and helps prevent an unresolved permit from following the house into a future sale or renovation.
10
Compare proposals by the complete opening, not a beam price
Ask whether each proposal includes investigation, measured drawings, structural design, permit coordination, temporary support, demolition, beam and posts, work below, connections, service relocations, inspections, waste removal, drywall, flooring, trim, paint, cabinets, and protection of occupied areas.
Also ask how concealed conditions and revisions are approved and priced. A quote for “supply and install beam” may exclude the engineering, shoring, posts, footing work, electrical relocation, ceiling repair, and permit closeout that make the room usable. Comparable totals need comparable scopes.
Official references checked for this guide
- City of Toronto: When do I need a building permit?
- City of Toronto: Interior alterations permit guide
- Electrical Safety Authority: Home renovation electrical safety
This is general renovation information, not legal, engineering, architectural, code, or electrical advice. Requirements and fees change. Confirm the current path for the property with Toronto Building and the qualified professionals responsible for the work.